How to Add a Printer: A Complete Step-by-Step Guide
Connecting a printer to your computer is an easy task that enables you to print files, images, and more. Use the steps below to begin, whether you’re using USB, Wi-Fi, or a network connection.
Adding a printer enables your device to produce paper copies of digital content like reports, graphics, and photos. Whether you’re installing a brand-new printer or reconnecting a previously used one, the setup process is typically simple. This guide will walk you through how to add a printer on Windows.
What You’ll Need:
A functioning printer (turned on)
A USB cable (for wired setup) or Wi-Fi access (for wireless setup)
A computer (Windows or Mac)
1. Open Settings
Go to Start > Settings > Devices > Printers & Scanners.
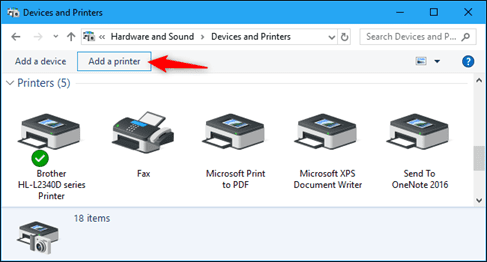
2. Click “Add a printer or scanner”
Windows will search for nearby printers.
printers & scanners
3. Select your printer
Choose your printer from the list and click “Add device.”
4. Install drivers if prompted
Windows may automatically install the driver or ask you to download it.
Conclusion
Adding a printer is a quick process once you know where to look. Whether you’re printing at home, in the office, or remotely, following these steps will get your printer connected and ready to go. Keep your printer drivers updated and perform regular maintenance to avoid connectivity issues in the future.