How to Install HP Printer Driver in Windows 10 – Step-by-Step Guide
If you’ve just bought a new HP printer or reinstalled Windows, you’ll need the correct printer driver to make it work properly. In this guide, we’ll walk you through how to install an HP printer driver on Windows 10, whether you’re installing it automatically or manually.
What is a Printer Driver?
A printer driver is a piece of software that allows your computer to communicate with the printer. Without it, your PC won’t be able to send print commands to the device correctly.
Method 1: Download & Install from HP’s Official Website
If Windows doesn’t automatically install the driver, or you want the latest full-feature driver, follow these steps:
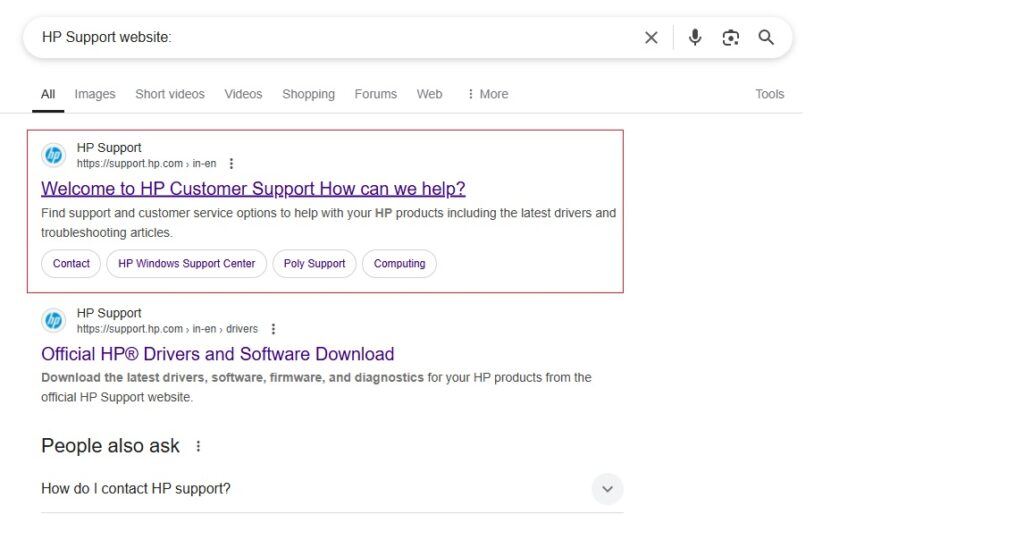
Step 1: Visit the HP Support Website
Go to support.hp.com
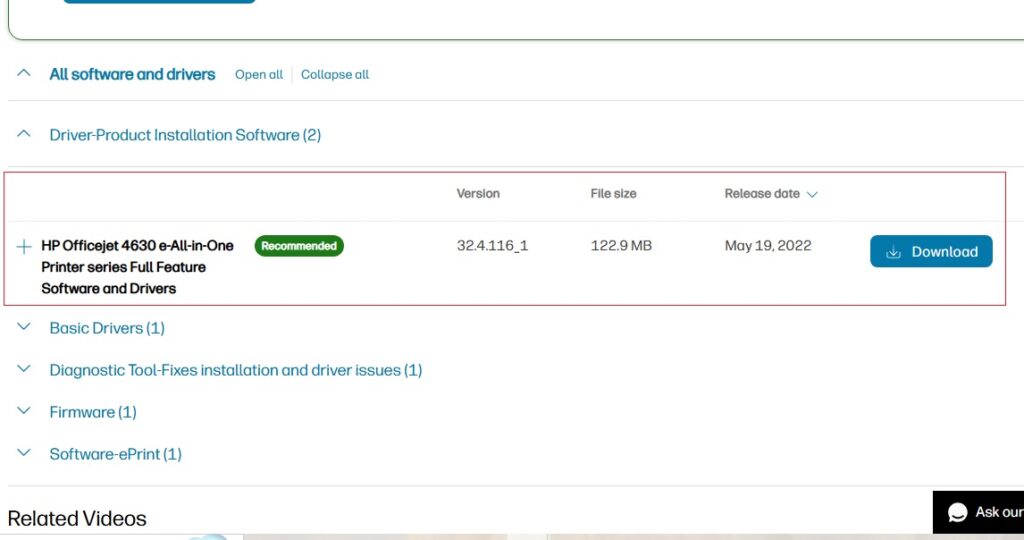
Step 2: Download the Driver for Windows 10
Select Windows 10 (64-bit) as your operating system.
Download the HP Smart app or the Full Feature Software and Driver package.
Step 3: Install the Driver
Run the downloaded file.
Follow the on-screen instructions to install the driver and connect your printer (via USB or Wi-Fi).
Troubleshooting Tips
Printer not detected? Try another USB port or cable.
Wi-Fi issues? Restart your router and make sure both devices are on the same network.
Driver conflicts? Uninstall any old HP drivers from Control Panel > Programs and Features.
Related Question’s
Q: Do I need to install the driver if I’m using HP Smart? A: No. HP Smart automatically installs the necessary drivers during setup.
Q: Is the driver installation different for wireless printers? A: The steps are similar, but during setup you’ll choose Wi-Fi instead of USB.
Conclusion
It’s simple to get your HP printer working on Windows 10. You can connect it directly, grab the driver from HP’s website, or go through the HP Smart app, and be printing within minutes.
Need help with a specific HP printer model? Drop your model number and I’ll tailor the instructions!